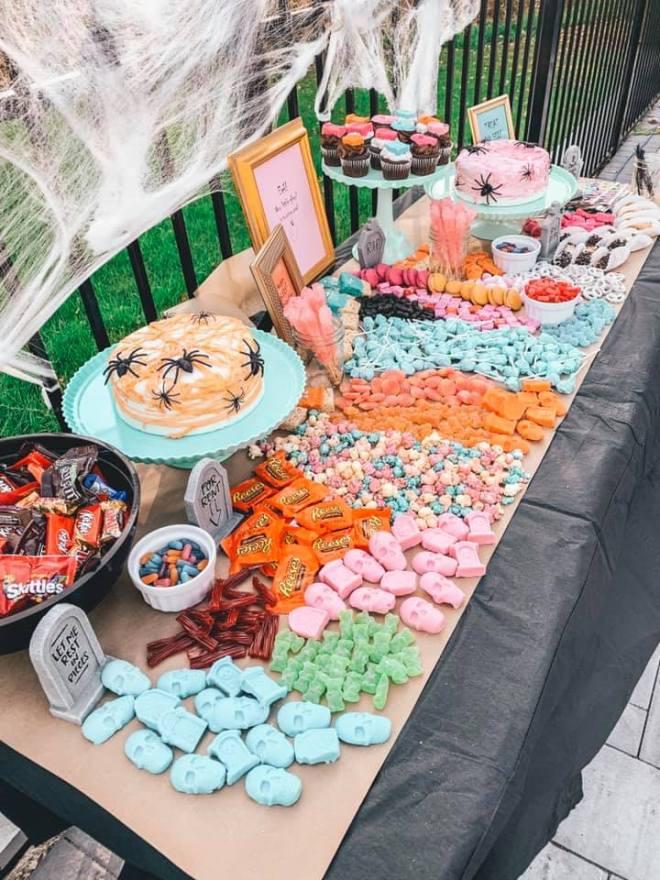
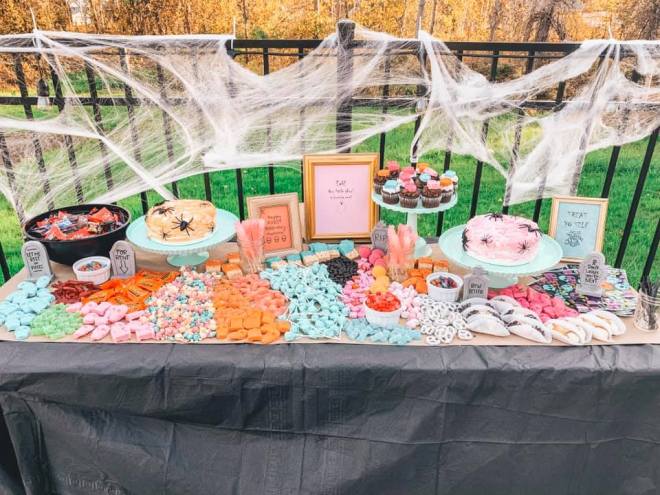
ICYMI: We celebrated Ro’s first birthday last week with a candy-coated Halloween party!
The color scheme made all my pastel dreams come true, and we had a blast dressing up in costume. Check out our whole party breakdown here.
We were on a SUPER BUDGET for this party, having just picked up our entire lives and moved 500+ miles away a little over a month prior. So I had to make almost all of the decorations myself, and find cheap and easy ways to make my ideas come to life.
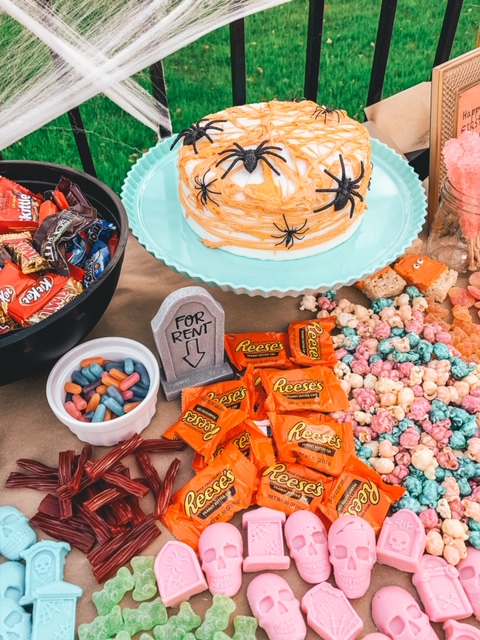
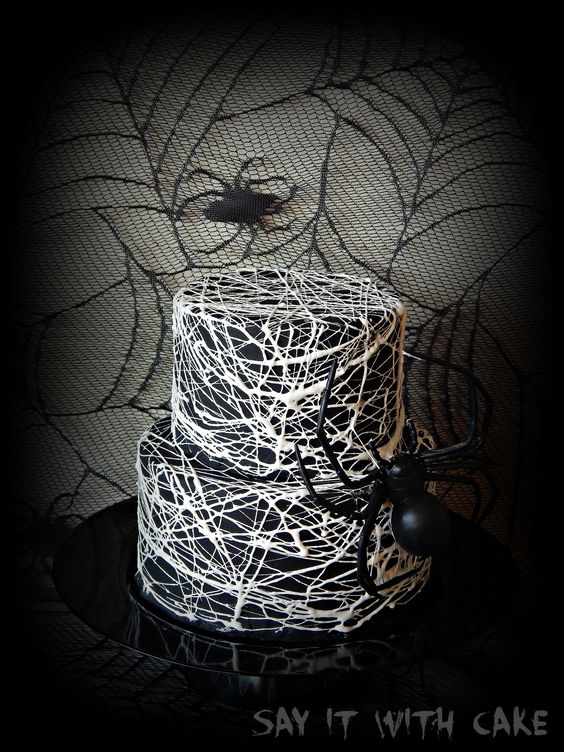
Enter: Spider Web Cake.
I found a super dope pic of a cake on Pinterest, decorated to look like a spider web. And I’m like: I can do that! Easy freakin peasy!
Ya…no.
I will preface this post by saying this: if you want to torture yourself one afternoon, this is a great way to DIY something that you’ll definitely regret doing, but like, maybe you’ll be pleased with the aesthetic anyways.
The spider webs are made out of melted marshmallow – sounds easy, right?
Yes, but, I also want you to picture your hands, coated in a ridiculously-thick layer of SUPER STICKY melted marshmallow that will take you no less than 10 minutes to get off.
If you’re going to do this, make sure you do not involve your kids (I mean, or do, it’s your funeral) and allow PLENTY of time to clean up.
Still interested? You cray, but OK. Here’s how I did it:

First and foremost, I bought two plain white frosted 9″ cakes at Market Basket. I just requested them at the bakery section the day before, although the girl working that day said they almost always have them in the freezer, and you don’t necessarily need to actually request them ahead of time.
Anywho, I bought two, and I wanted each to be a different pastel color. I decided on orange and pink.
To decorate the cake, you’ll need:
-Medium mixing bowl (microwave safe)
-Food color
-Bag of jumbo marshmallows
-Mixing spoon
-Plastic spider rings
-Large fake spiders (I found these ones at Target)
PRO TIP (yes, I’m considering myself a pro now): If using a frozen cake, allow it to reach room temp before attempting to decorate. Why? Oh you know…because I did one of the cakes frozen and the marshmallow barely stuck to it, and I had to redo it. It sticks better when the cake is room temp.
Step 1: Place a handful of marshmallows into the mixing bowl. Microwave for 30 seconds.
Step 2: Remove from microwave and add desired food color to the bowl. Follow the instructions on the package to reach desired color.
Step 3: Use your mixing spoon to stir the melted marshmallows together with the food color. Keep stirring and stirring and stirring until the marshmallows look like some kind of weird thick soup in the bowl.
Step 4: Let the marshmallow soup cool for like a minute or two.
Step 5: When you think the marshmallow is cool enough, scoop up a handful and using both hands, pull the marshmallow apart and stretch it out, creating a long strand. The thinner you pull the strand, the better it will look on the cake.
Step 6: Wrap the strand around the cake. I started across the top and pulled it down around the sides.
Step 7: Repeat Step 5, over and over and over again, pulling each strand in a different direction. There really is no one specific way to do it – the chaos is kind of what makes it look cool! I also found that layering the strings created a neat effect.
Step 8: Time to add the spiders!
Place your larger spiders first. They will stick right to the marshmallow – no need to affix them with anything special.
Next, cut the ring part off the small spider rings, and place them every which way, all over the cake. Again, there is really no rhyme or reason as to where you should place them, or how many you should add.


Leave a comment