
If you know anything about me, you know that I’m a Halloween junkie; I live for it.
But the true fun for me lies in creating – homemade costumes and unique decorations.
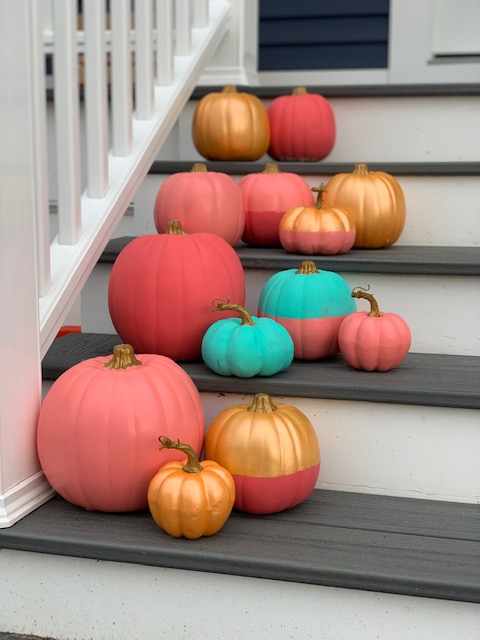
This year, I went for a whimsical vibe and did everything in creamy pastels.
Creating these pumpkins was super easy and it spiced up the front porch in a really cute way.
Here’s what you’ll need to DIY:
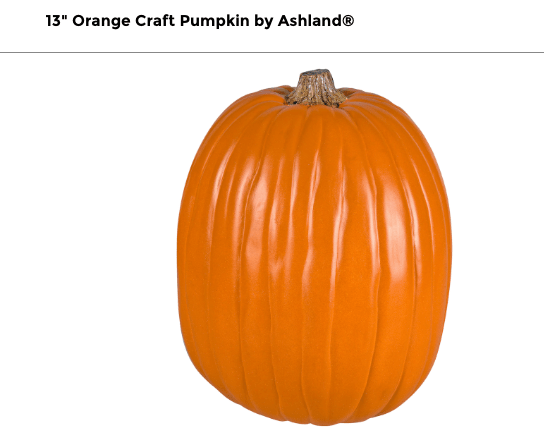
-Fake pumpkins
You could use real ones, but the craft pumpkins are WAY more affordable if you get them on sale, and eco-friendly because you can use them year after year. PRO TIP: Get your pumpkins at Michaels approximately one week before Halloween – that’s when they go on MAJOR sale.
I used a combination of white, black and orange pumpkins, and I will say that surprisingly, the black ones were the easiest to paint – both white and orange took several coats of paint.
-Acrylic paintbrushes
-3 to 4 different colors of acrylic paint + a matte gold
-Large paper plates

Any brand will do, as long as it’s approved for use on plastic!
Directions:
Step 1: Start by taking a damp paper towel and wiping down your pumpkins. This will give the paint a clean surface to stick to, ensuring the pumpkins are free of dust and grime.
Step 2: Paint each pumpkin in the desired color. To create a two-tone look, start by painting half of the pumpkin, horizontally, and allow it to dry before filling in the additional color.
I did not use painter’s tape for this effect, I just eyeballed approximately half of the pumpkin. The “line” dividing the two colors does not have to be perfect!
Step 3: Place each pumpkin on a paper plate and allow it to dry.
Step 4: Using your gold paint, color in the stem of each pumpkin.
For more pastel halloween inspo, check out this post!


Leave a comment